Walls & Anchors
Gallery wall layout guide: spacing, height and lines
How to lay out a gallery wall that looks designed: the 57-inch rule, treating the group as one rectangle, 2 to 3 inch gaps, paper templates and stair galleries.
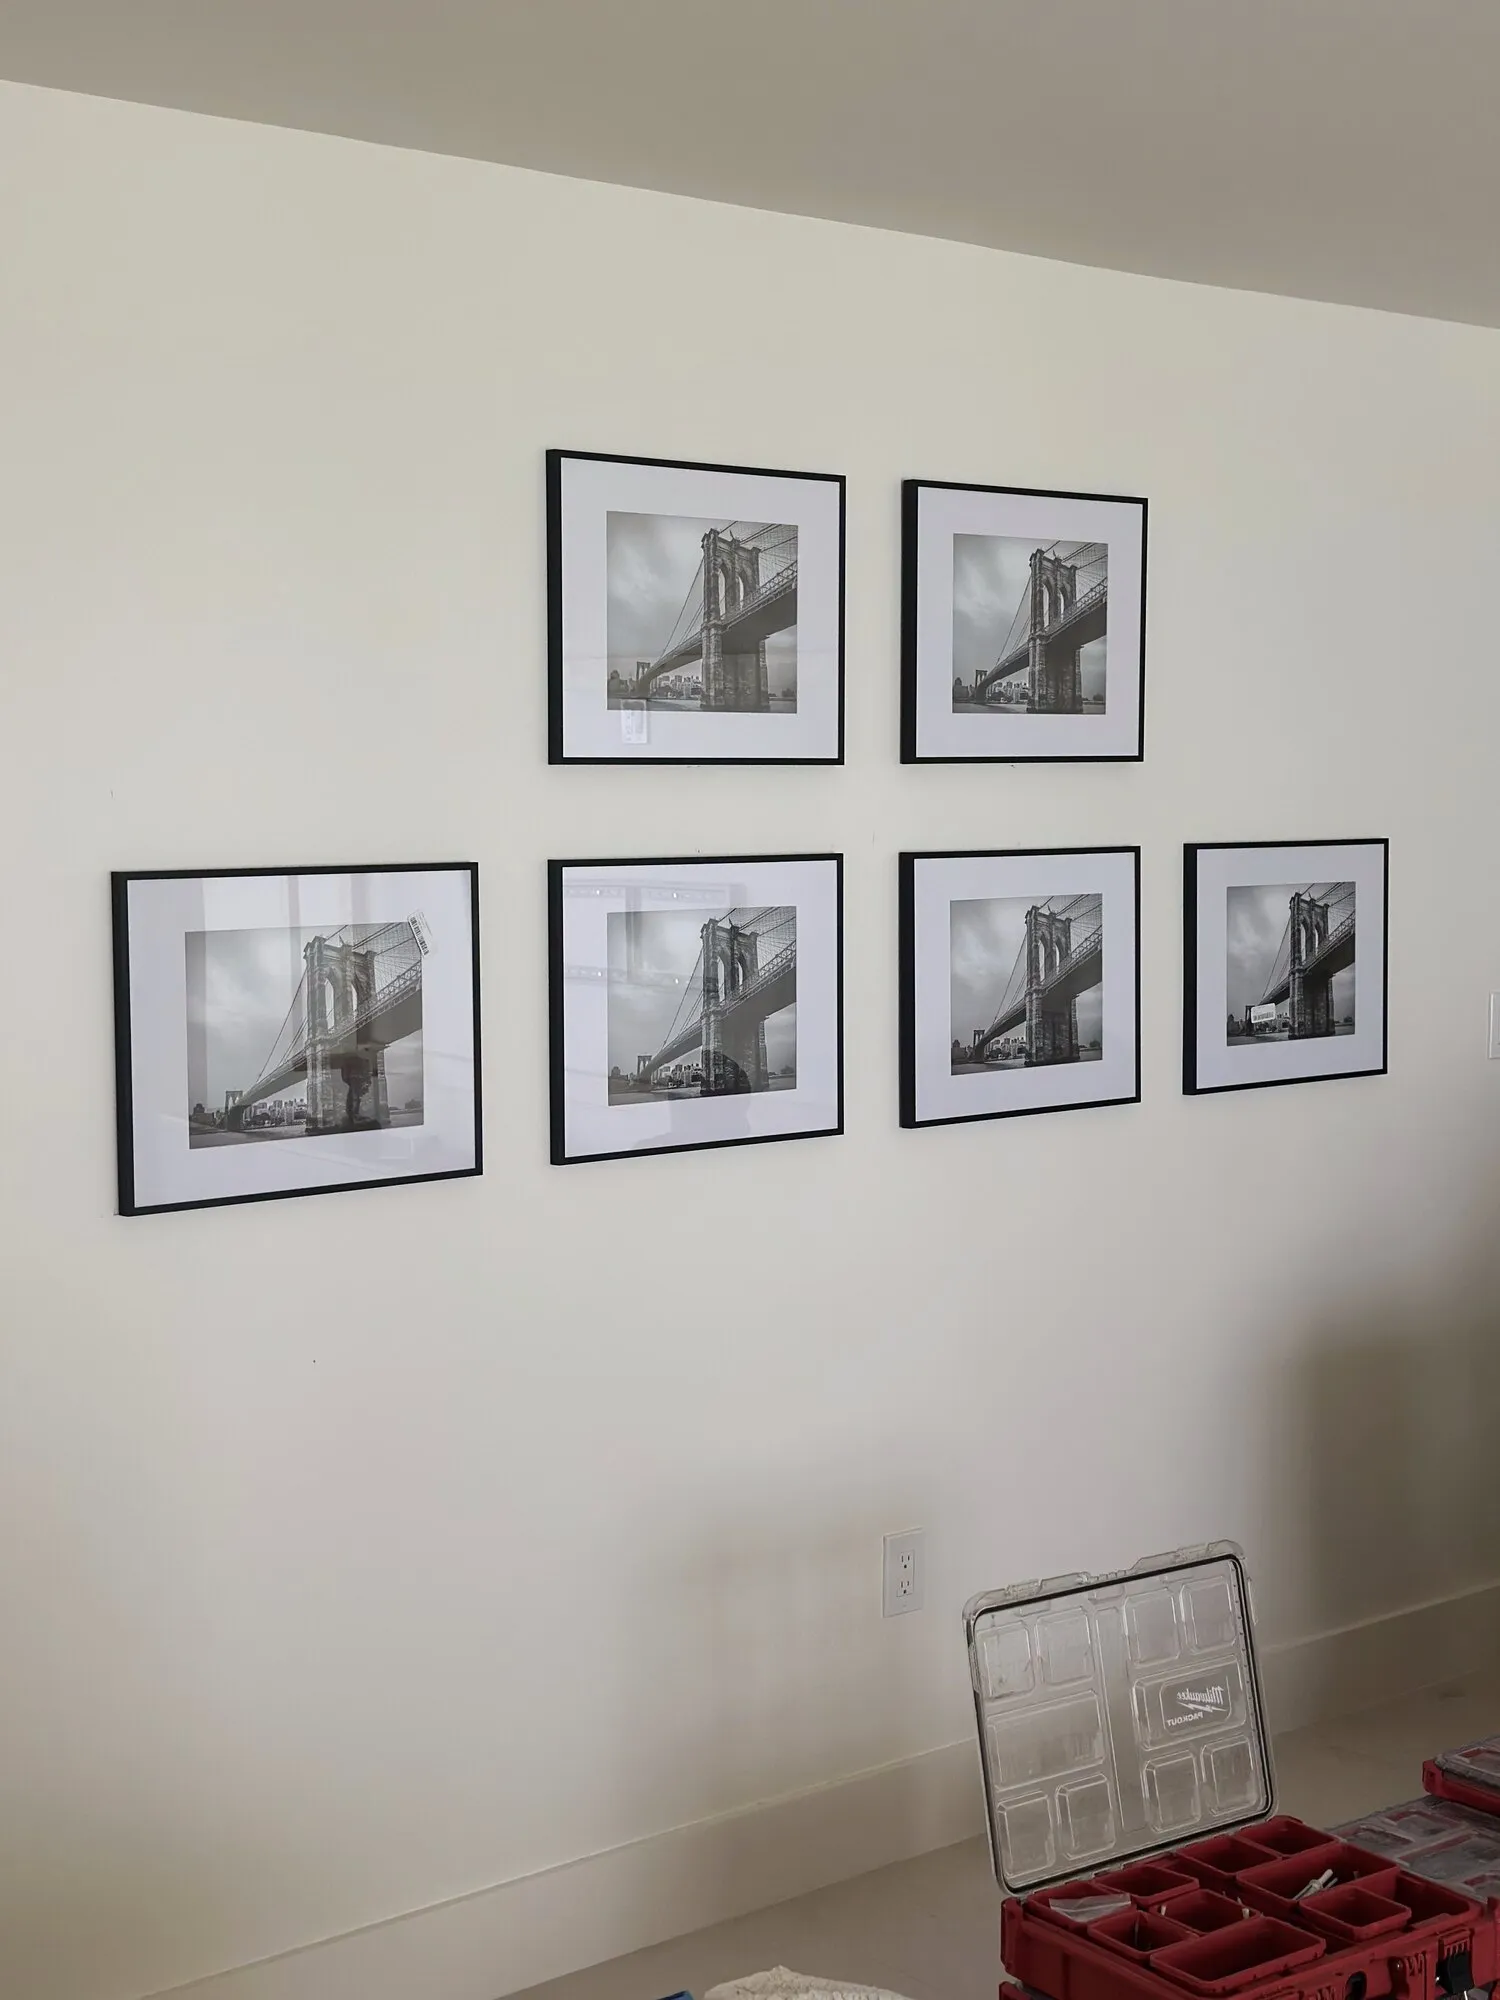
A gallery wall either looks curated or it looks like someone hung whatever they had. The difference is almost never the art. It is spacing, alignment, and one decision about where the center of the whole group lands.
None of this is difficult. It just has to be done before the first hole goes in the wall.
The 57-inch convention
Hang so the center of the arrangement sits about 57 to 60 inches from the finished floor. That range approximates average standing eye level, and it is roughly what art galleries and museums use as a house standard.
The important word is arrangement. If you have nine frames in a grid, the center of that entire block goes at 57 inches. Individual frames sit wherever the layout puts them, including well above and below that line. People get this wrong by centering one frame at 57 inches and building outward, which drags the whole group too high and leaves it floating.
Two exceptions:
- Above furniture. A sofa, console, credenza or headboard becomes the reference point. Leave 6 to 10 inches between the top of the furniture and the bottom edge of the lowest frame. Any more and the art detaches from the furniture; any less and it looks crowded. The 57-inch rule bends to this.
- Very tall ceilings. In a room with 12-foot ceilings you can raise the center a few inches, but not as much as instinct suggests. Eye level does not change with ceiling height. If the wall looks empty above the art, the answer is a bigger arrangement, not a higher one.
Treat the group as one rectangle
This is the mental trick that makes gallery walls work.
Stop thinking about individual frames. Think about the outer boundary of the whole group — the imaginary rectangle that just contains every piece. That rectangle is the object you are hanging on the wall. It gets centered, it gets sized to the wall, and its edges should be reasonably clean.
Practical consequences:
- The rectangle should be roughly two-thirds the width of the furniture beneath it. Narrower than that and it looks undersized.
- Leave breathing room. Do not run the rectangle closer than about 6 to 8 inches to a ceiling line, a door casing or the corner of a room.
- Straight outside edges read as intentional. Ragged outside edges read as accidental. If one frame sticks out past the boundary on one side, either bring it in or add a piece on the opposite side to balance it.
- Inside the rectangle you can be as loose as you like, as long as the gaps are consistent.
Gap spacing
Two to three inches between frames. Pick one number and hold it everywhere.
Small frames and dense grids look best at 2 inches. Large pieces in a big room can carry 3 inches. Beyond 4 inches the pieces stop reading as a group.
Consistency matters more than the exact value. The eye is remarkably good at spotting a 2 1/2-inch gap sitting next to a 2-inch one, even when it cannot say what is wrong. A cheap way to hold the standard: cut a scrap of wood or cardboard to your gap width and use it as a spacer while you position templates.
Layout patterns
| Layout | Best for | Spacing approach | Difficulty |
|---|---|---|---|
| Grid, identical frames | Photo sets, prints, a clean modern room | Equal gaps in both directions, 2 in typical | Easy to plan, unforgiving of error |
| Two-row band | Above a long sofa or console | Align the horizontal center line between rows | Easy |
| Salon / organic cluster | Mixed sizes, collected art, eclectic rooms | Consistent gaps, aligned outer rectangle | Hardest to get right |
| Single row at eye level | Hallways, narrow walls | All centers on one 57-inch line | Easiest |
| Stair run | Staircase walls | Centers parallel to the stair pitch | Moderate |
| Ledge or picture rail | Renters, people who rearrange often | Overlap freely, no gap rules | Easy |
The paper template method
This is how every good install gets done. It takes 30 minutes and saves you an afternoon of patching.
- Trace every frame on kraft paper, newsprint or brown packing paper. Label each template on the front so you know which is which.
- Mark the hardware position on each template. Lay the frame face down, measure from the top edge of the frame to the hook or D-ring, and transfer that measurement onto the template. If it is a wire hang, pull the wire taut toward the top of the frame first and mark where the peak sits, because that is where the hook will actually catch.
- Establish your center line. Measure 57 inches up from the floor, or your furniture-referenced height, and run a light pencil line or a strip of painter’s tape across the wall.
- Tape the templates up with painter’s tape, starting from the largest piece. Use your spacer block to hold the gaps.
- Live with it. Step back to the far side of the room. Look at it from the doorway. Take a photo on your phone, because a photo flattens the wall and shows you alignment problems your eye is compensating for.
- Adjust, then check the outer rectangle. Measure from the ceiling to the top of the highest template on the left and right ends. If those numbers differ, the whole group is tilted.
- Drill straight through the paper at each hardware mark. Set your anchors with the templates still up.
- Tear the paper off and hang. The paper takes the pencil marks with it.
Anchors and hardware
Most gallery frames are light enough that this is not a heavy engineering exercise, but the wall still matters.
For frames under 10 pounds, self-drilling threaded anchors or picture hooks rated for the load are fine. Above about 20 pounds per piece, get into a stud or use a toggle. The full breakdown is in drywall anchors explained, and if the wall is concrete block — which most exterior walls in South Florida are — see how to find a stud before you trust a stud finder reading.
Two hardware notes that matter for gallery walls specifically:
- Two hooks per frame beats one. Any frame wider than about 16 inches will drift out of level on a single hook. Two hooks spaced apart hold it flat and level, permanently.
- Bumpers on every frame. Small clear adhesive bumpers on the bottom two corners stop frames rocking, keep them from marking the paint, and let air move behind the frame. In a humid Florida house that last part is not decorative.
Stair galleries
Stair walls are where most gallery walls go sideways, because there is no floor line to measure from and the wall is a triangle.
The rule: the line of frame centers should run parallel to the stair pitch, which is the same angle as the handrail.
How to do it:
- Stand on a tread and measure straight up the wall from the nose of that tread. Mark 57 inches. That is the center height for the frame at that position.
- Repeat on every second or third tread, depending on how far apart you want the pieces.
- Connect the marks. They should form a straight line running parallel to the handrail. If they do not, one of your measurements is off — recheck rather than fudging it.
- Center each frame on its mark and keep your gap spacing measured along that sloped line, not horizontally.
A common variation is to keep the frames themselves aligned to the pitch line by their top edges instead of their centers, which suits a set of matching frames. Either works. Mixing the two does not.
Do not step frames up in a staircase pattern where each one is level with the last for a while and then jumps. It reads as an error every time.
Mixing frame sizes
A mix of sizes almost always looks better than a matched set, but it needs one thread of consistency:
- One unifying element. All black frames, or all white mats, or all the same subject, or all the same era. Pick one and hold it.
- Anchor with the biggest piece. Place it slightly off center in the arrangement — not dead middle — and build outward.
- Balance visual weight, not size. A small dark, dense piece carries more weight than a large pale one. If the left side feels heavy, it is.
- Odd numbers cluster better than even. Five and seven arrange more naturally than six.
- Keep mat widths consistent within any subgroup. Inconsistent mats are as visible as inconsistent gaps.
Tools and materials
- Kraft paper or newsprint, scissors, painter’s tape
- Tape measure and a 24-inch level (a laser level is a genuine luxury here)
- Pencil, eraser
- Cardboard or wood spacer cut to your gap width
- Stud finder and a magnet
- Drill, bits, and anchors matched to the frame weights
- Picture hooks or D-rings, plus clear bumpers
- A phone camera for checking the layout flat
When it’s worth calling someone
A gallery wall is a patience job more than a skill job, but if it is a big arrangement, a stair wall, or a block wall where every hole costs a hammer drill and a masonry anchor, it is worth having someone do it once, correctly. Handy Daddy handles picture and mirror hanging across Broward, Palm Beach and north Miami-Dade. If you have a large statement piece in the mix, read how to hang a heavy mirror first, and if there are leftover holes from a previous arrangement, patching drywall covers those.
Questions people ask about this
How high should a gallery wall be hung?
Hang the group so the center of the whole arrangement sits about 57 to 60 inches from the floor, which is roughly average eye level and the convention most galleries and museums use. That means you find the center of the entire block of frames, not the center of any single frame. Over a sofa or console, work from the furniture instead and keep the bottom of the lowest frame 6 to 10 inches above it.
How much space should be between frames on a gallery wall?
Two to three inches between frames is the sweet spot for most rooms. Under two inches the group reads as one cluttered mass, and over four inches it stops reading as a group at all. Whatever gap you pick, keep it identical everywhere, because inconsistent gaps are the single most visible mistake in a gallery wall.
How do I plan a gallery wall before drilling?
Trace each frame on kraft paper or newspaper, cut the templates out, mark the hanging-hardware position on each one, and tape them to the wall with painter's tape. Move them around until the arrangement looks right, then drill straight through the paper at the hardware marks and tear the templates off. You get to make every mistake in tape instead of in drywall.
How do you hang pictures going up a staircase?
Follow the slope of the stairs rather than stepping frames up in a straight vertical line. Pick a consistent measurement, usually about 57 inches measured straight up from the nose of the tread directly below each frame, and mark the center of every piece at that height. The line of centers then runs parallel to the handrail and the whole run looks intentional.
Can I mix different frame sizes and styles?
Yes, and it usually looks better than a set of identical frames. Give the mix one unifying element, such as one frame color, one mat color, or one subject type, then anchor the arrangement with the largest piece placed slightly off center and build the smaller pieces around it. Keep the outer edges of the group aligned to an imaginary rectangle so the mix reads as deliberate.
Should gallery wall frames be centered on the wall or on the furniture?
Center on the furniture whenever there is furniture below. A sofa, console or bed anchors the room visually, and a gallery wall that is centered on the wall but off center over the sofa will look wrong to everyone who walks in. On an open wall with nothing beneath it, center on the wall.