Lighting & Electrical
How to replace a light fixture safely, step by step
Replace a light fixture the right way: kill the breaker, prove the wires are dead, check the box rating, and handle surprise wiring without guessing.
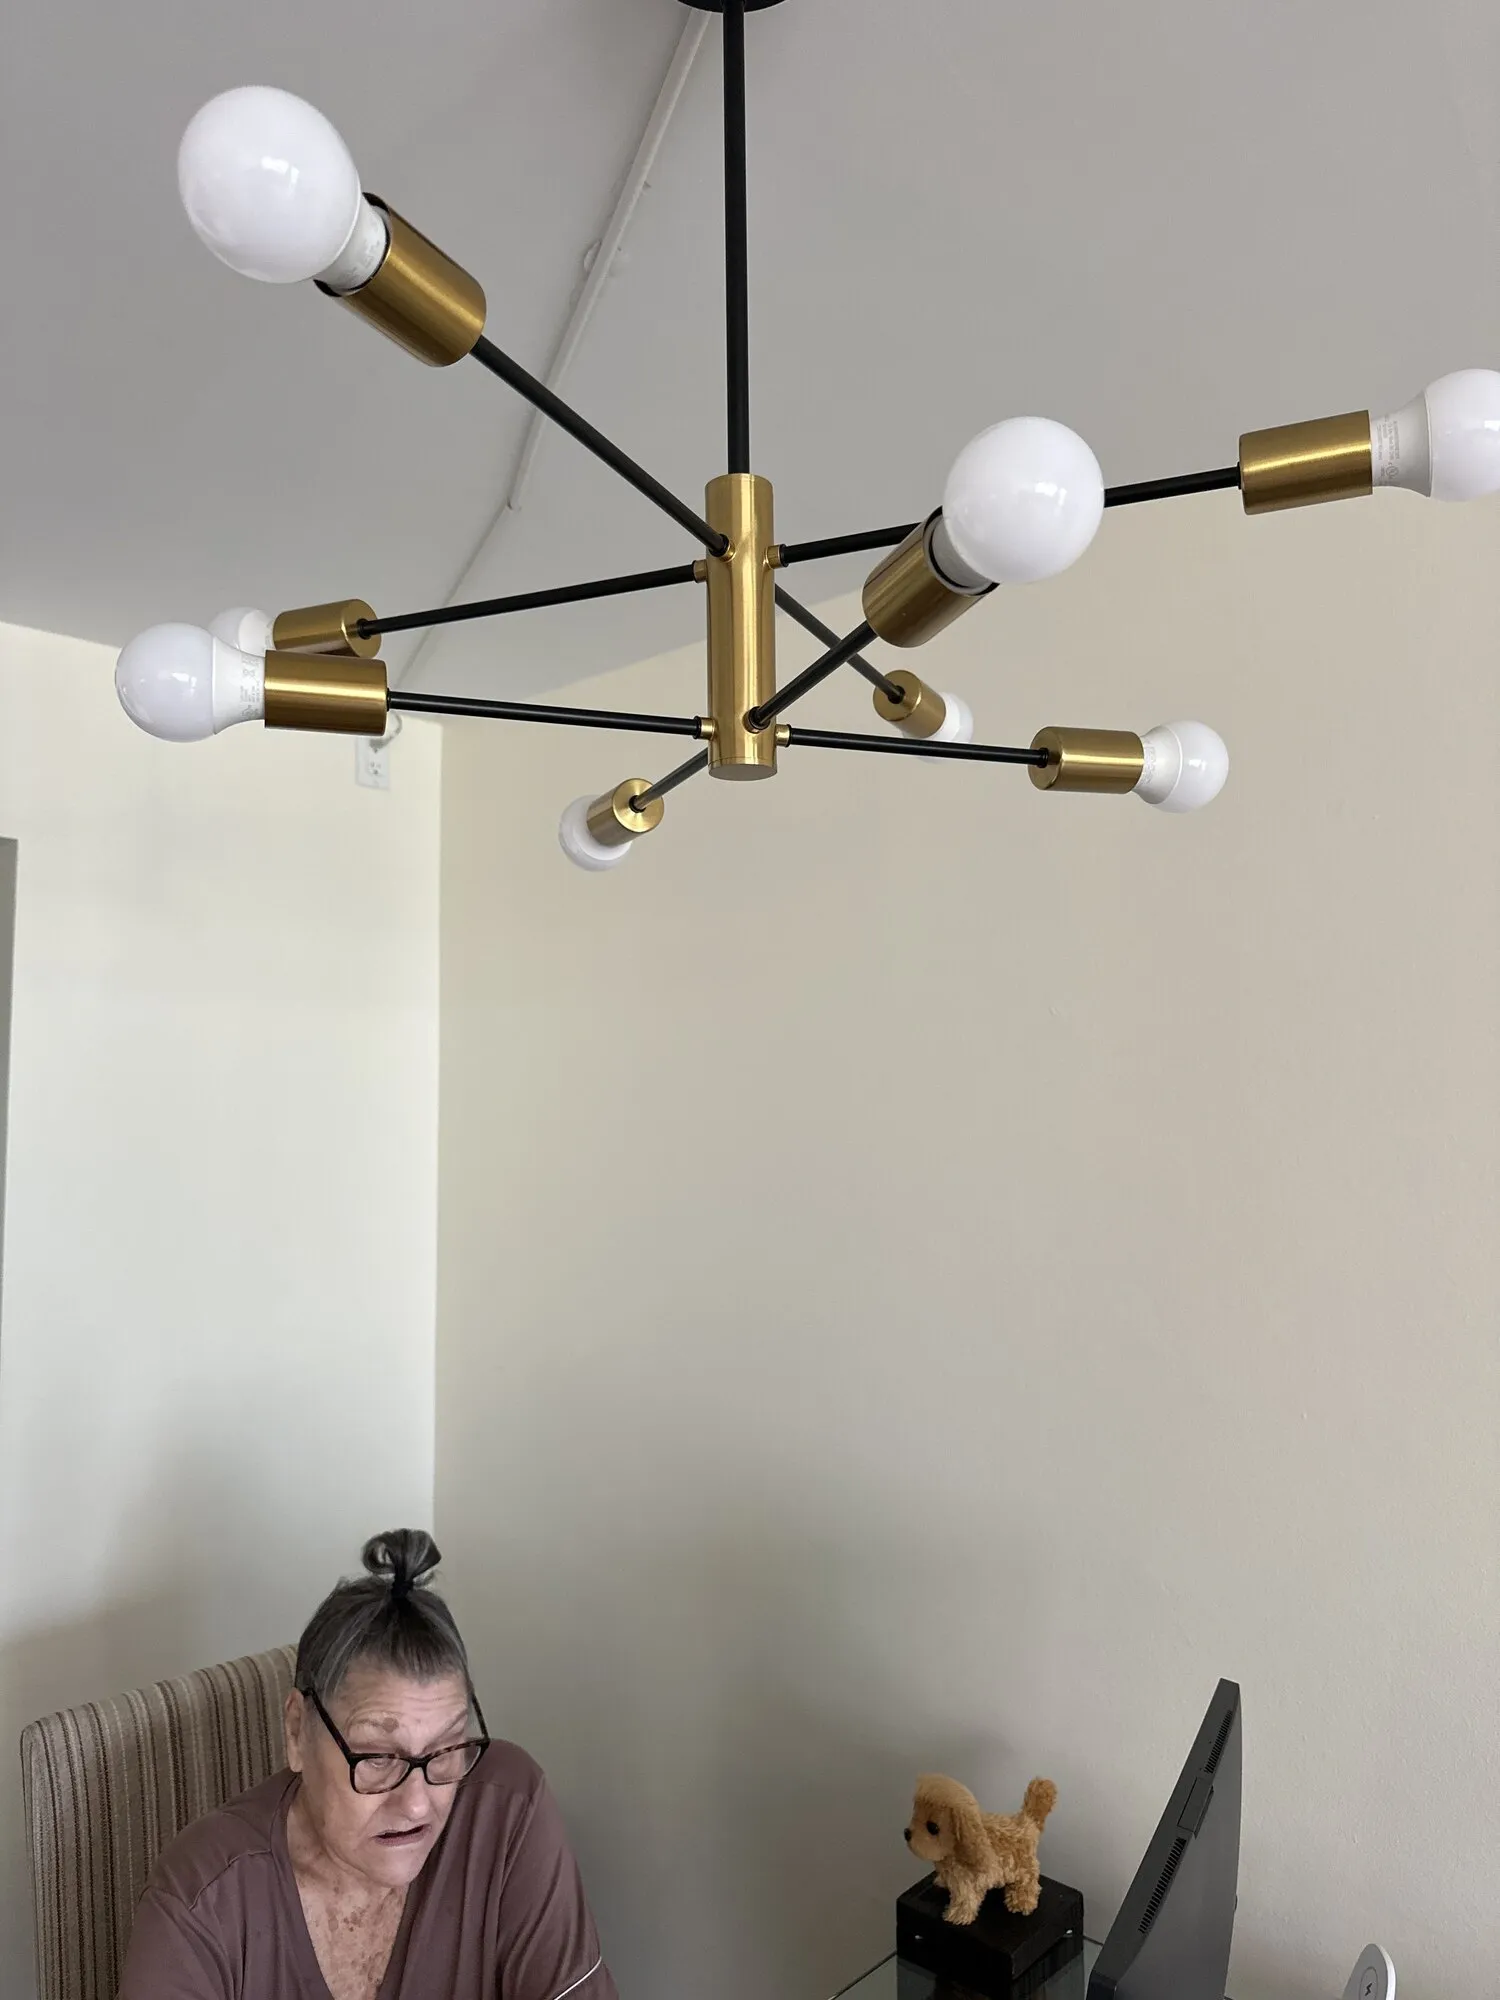
A light fixture swap looks like the easiest electrical job in the house, and most of the time it is. The part that bites people is not the wiring, it is everything that happens before the wiring: assuming the breaker you flipped is the right one, hanging a 22 lb fixture off a box that was never meant to carry it, and finding three cables in a box when you expected one.
Here is the sequence I use, in order, every time.
Before you start: what is and is not a handyman job
Replacing an existing fixture on an existing, working outlet box is a maintenance swap. You are reusing the circuit that is already there.
The job changes character the second any of these come up:
- You want a light where there is no box today
- You need a new circuit or a new cable run
- Anything has to happen inside the panel
- The existing box is broken, burned, or hanging loose in the ceiling
- There is no equipment ground anywhere in the box
All of those are licensed electrical work in Florida. That means a licensed electrical contractor and, in most of Broward, Palm Beach and north Miami-Dade, a permit from the local building department. I am not going to pretend otherwise, and neither should anyone who quotes you a price for it.
Tools and materials
- Voltage tester, non-contact type
- A contact multimeter or a two-lead voltage tester
- Insulated screwdrivers, flat and Phillips
- Wire strippers sized for 14 and 12 AWG
- Lineman’s pliers
- Wire connectors in the right sizes for the conductor count
- Step ladder tall enough that you are not on the top cap
- Headlamp, because you are about to turn off the light you are working under
- Phone, for photographs of the existing wiring
- Painter’s tape and a marker for labeling
- Fixture mounting hardware, usually supplied, sometimes not
Buy the fixture before you start, open the box, and confirm the mounting hardware is in there. Fixtures ship with missing crossbars more often than you would think.
Step 1: Kill the power at the breaker, not the switch
Turn off the wall switch first so nobody flips it while you work, then go to the panel and turn off the breaker that feeds the light. Put a piece of tape over the breaker handle with a note on it. If there is any chance someone else is home, tell them.
Turning off the switch alone is not enough. A switch interrupts the hot leg going to the fixture. The cable feeding the switch box is still live, and if the fixture box is a junction point, the conductors passing through it are still live too.
Step 2: Prove it is dead, and understand why one test isn’t proof
Take the fixture cover or canopy down far enough to see conductors, then test.
The non-contact tester
Wave a non-contact voltage tester over every conductor and over the box itself. It should stay silent. Useful, fast, and worth doing first.
But do not stop there. A non-contact tester:
- Can fail to detect voltage through thick insulation, a metal raceway, or a foil-faced surface
- Can chirp on phantom voltage induced from a nearby live conductor, telling you something is hot when it isn’t
- Can go quiet because the battery died, not because the circuit did
- Tells you nothing about voltage between two conductors, only about the field around one
The contact test
Use an actual meter. Test hot to neutral, hot to ground, and neutral to ground. All three should read essentially zero.
Then do live-dead-live: test your meter on a circuit you know is energized, test the fixture wiring, then test the known-live circuit again. If the meter still works at the end, your dead reading was real. That single habit is the difference between a tool that protects you and a tool you are trusting blindly.
Step 3: Identify what kind of box you are working with
Get a light up there and look at the box before you touch the wires. What you find determines what you can hang.
| Box type | How to recognize it | What it supports |
|---|---|---|
| Standard lighting outlet box | Metal or plastic, nailed or screwed to a joist, no fan marking | Luminaire up to 50 lb |
| Pancake box | Shallow round metal box, roughly 1/2 in deep, screwed to framing | Light fixtures only, check the marking, no fan |
| Fan-rated box | Stamped or labeled for ceiling-fan support, heavier construction | Fan up to 35 lb, or up to the marked weight to 70 lb |
| Old work / remodel box | Plastic with swing-out ears clamped to drywall | Light fixtures only, supported by drywall, never a fan |
| Bar-hanger brace box | Adjustable steel bar spanning two joists | Depends on the brace rating, read the label |
Two numbers matter. A box installed for a lighting outlet is permitted to support a luminaire weighing 50 lb or less. And an outlet box is never the sole support of a ceiling fan unless it is listed and marked for that use, which is 35 lb as standard and up to 70 lb where the box carries a marking for the heavier weight. If you are putting up a fan, read the ceiling fan mistakes article before you buy anything.
Weigh your new fixture. Big multi-arm chandeliers get heavy fast, and a 42 lb fixture on a cracked plastic box is a ceiling repair waiting to happen.
Florida wrinkle: concrete ceilings
In a lot of Broward, Palm Beach and north Miami-Dade condos, the ceiling is a poured concrete slab and the box is cast into it. You cannot swap that box for a fan brace, and you cannot cut a bigger hole for a heavier fixture. What is there is what you get. Plan the fixture around the box, not the other way around.
Do not solve the problem by drilling the slab instead. Many mid-rise and high-rise buildings here have post-tensioned slabs, with steel tendons under enormous tension running through the concrete. Hitting one is dangerous as it happens and structurally serious afterward, and they are invisible from below with no safe depth to work to. A condo ceiling is not a DIY drilling target without the building’s structural drawings and a scan. See condo drilling rules in South Florida.
Step 4: Support the old fixture before you disconnect it
Undo the canopy screws and let the fixture hang from the wires and you will strain the connections, or drop it. Either put a hook through the box strap, have a second person hold it, or rest it on the top of the ladder. Then disconnect.
Before you pull a single wire nut off, photograph the box. Two shots, one wide and one close. You will want them in twenty minutes.
Step 5: Fit the mounting strap and crossbar
Almost every modern fixture mounts to a strap: a flat metal bar that screws to the two threaded ears in the box. The fixture then attaches to the strap, either with two screws through the canopy or with a threaded nipple through the center.
- Remove the old strap. It is rarely worth reusing, and the new fixture’s strap is drilled to match its canopy.
- Screw the new strap to the box ears with the machine screws provided. Snug, not gorilla-tight. You can strip the ears in a plastic box in one turn too many.
- If the fixture uses a center nipple, thread it in and set the height so the canopy pulls flat to the ceiling without gapping. Test-fit before you wire.
- Attach the fixture ground screw or ground lead to the strap if the fixture calls for it.
A crossbar that sits crooked gives you a crooked fixture, and you will see it from the sofa every night. Get it level now.
Step 6: Make the connections
Match conductors by function, not just by color. In a normal setup: black to black, white to white, bare or green to ground.
Wire connector technique
- Strip about 5/8 in of insulation. Too little and the connector grabs insulation instead of copper. Too much and bare wire sticks out below the skirt.
- Hold the conductor ends flush and parallel. Do not stagger them.
- Push the connector on and twist clockwise until the insulation on the conductors starts to twist with it.
- Tug every single wire, one at a time, firmly. If one comes out, the connection was never good.
- Check that no bare copper is visible below the connector. If it is, back off, trim, and redo.
Use a connector rated for the number and size of conductors you are joining. Stuffing four 12 AWG wires into a small connector is the classic cause of a hot box.
Grounding
Connect the fixture ground to the circuit’s equipment ground and to the metal box if the box is metal. If the fixture has a green screw and a green lead, use whichever the instructions call for, not both improvised.
If there is no ground conductor in the box at all, which happens in older South Florida houses, stop. You cannot fabricate a ground by tying to the neutral. That creates a metal fixture that becomes energized if the neutral fails. Get an electrician to evaluate the circuit.
Tucking it in
Fold the connections into the box in an accordion, grounds first, then neutrals, then hots. Do not cram. If the wires fight you, the box is too full and that is worth knowing before you close it up.
Step 7: What to do when there are extra wires
This is where most fixture swaps go sideways. Your old fixture had two wires. The box has six. That is normal and it usually means one of three things.
A switch loop. The cable runs from the fixture down to the switch and back. In older wiring, the white conductor is used as the switched hot and should be re-identified with black or red tape at both ends. If you find a white wire connected to the fixture’s black lead, that is likely what it is. Do not “correct” it by moving it to the neutral bundle.
The box is a junction. Power comes in, feeds this fixture, and continues on to another light or outlet. You will see two or three cables, with the whites bundled together, the hots bundled together, and one pigtail going to the fixture. Rebuild it the same way with a fresh pigtail.
Two switched circuits. A red and a black hot in the same cable usually means a three-way arrangement or a split feed, often a fan and light on separate switches. Label everything.
The rule is simple: if you cannot explain what every conductor does, do not close the box. Capping an unknown live conductor and shoving it in the ceiling is how a wall gets opened up three years later. This is also the point where a smart switch project can dead-end, which is covered in the no-neutral smart switch guide.
Safety and when to stop
Stop and call a licensed electrician if you find any of the following:
- Scorch marks, melted insulation, or a burned smell in the box
- Cloth-insulated wiring that crumbles when you flex it
- Aluminum branch-circuit conductors, which are dull silver and need special connectors
- A box that moves when you push on it, or is not fastened to framing
- No equipment ground anywhere in the box
- More conductors than the box volume allows, so nothing will fold in
None of those are dramatic warnings for the sake of it. Every one of them is a real ignition source or a real shock path.
Testing and finishing
Restore the breaker, then the switch. If the light works, cycle it a few times and put your hand near the canopy after ten minutes. Warm is fine. Hot is not.
If it flickers or buzzes on a dimmer, the fixture is probably fine and the dimmer is the problem. That is a whole separate diagnosis, and it is laid out in the LED dimmer flicker fix. If you are choosing a new dining or foyer fixture and are not sure what size to buy, the chandelier sizing guide will save you a return trip.
When it’s worth calling someone
If the box is questionable, the fixture is heavy, the ceiling is 18 ft up over a staircase, or you opened the box and found a bird’s nest of unlabeled conductors, that is a good hour of someone else’s time. I do light fixture installation across Broward, Palm Beach and north Miami-Dade, and I would rather look at a box for you than have you guess at it. Anything that needs new wiring or a new circuit goes to a licensed electrical contractor, and I will tell you that up front.
Questions people ask about this
Do I need an electrician to replace a light fixture in Florida?
Swapping a fixture on an existing, working outlet box is generally homeowner-level work and does not require new wiring. The moment the job needs a new circuit, a new cable run, a new box location or any work at the panel, it becomes licensed electrical work in Florida and you need a licensed electrical contractor. If the existing box is damaged, ungrounded or overloaded, stop and get an electrician.
How much weight can a standard ceiling box hold?
A standard outlet box installed for lighting is permitted to support a luminaire weighing 50 lb or less. Anything heavier has to be supported independently of the box, or the box itself must be listed and marked for the greater weight. A standard lighting box is never adequate for a ceiling fan, no matter what it weighs.
Is a non-contact voltage tester enough to prove the wires are dead?
No. A non-contact tester is a screening tool, not proof. It can miss voltage through insulation or foil, it can read phantom voltage from a neighboring conductor, and its battery can die without an obvious warning. Confirm with a contact meter between hot and neutral, hot and ground, and neutral and ground, and test the meter on a known live circuit before and after.
What do I do if there are more wires in the box than my new fixture has?
Do not cap anything you have not identified. Extra wires usually mean the box is a junction point feeding another light or outlet, or you have a switch loop, or there are two switched circuits in one box. Photograph the box before you disconnect anything, and match like to like. If you cannot explain every conductor, get an electrician to look at it.
Why does my new light fixture flicker after I install it?
The most common cause is an LED fixture on a dimmer built for incandescent bulbs. Old leading-edge dimmers have a minimum load the LED cannot meet, so the light stutters or buzzes. A loose neutral or a bad wire connection can also cause flicker, so recheck every connection with a tug test before you blame the dimmer.
Do I have to connect the ground wire if the old fixture did not have one?
If there is a ground conductor or a grounded metal box, connect it. Older Florida homes sometimes have no equipment ground at the ceiling box at all. In that case you cannot create a ground by connecting to the neutral, and you should not. Have an electrician evaluate the circuit before installing a metal fixture on an ungrounded box.