Storage & Assembly
Overhead garage storage: how to hang a rack safely
Joist direction, lag screws and pilot holes, load ratings, garage door clearance and truss limits — how to install overhead garage storage that actually holds.
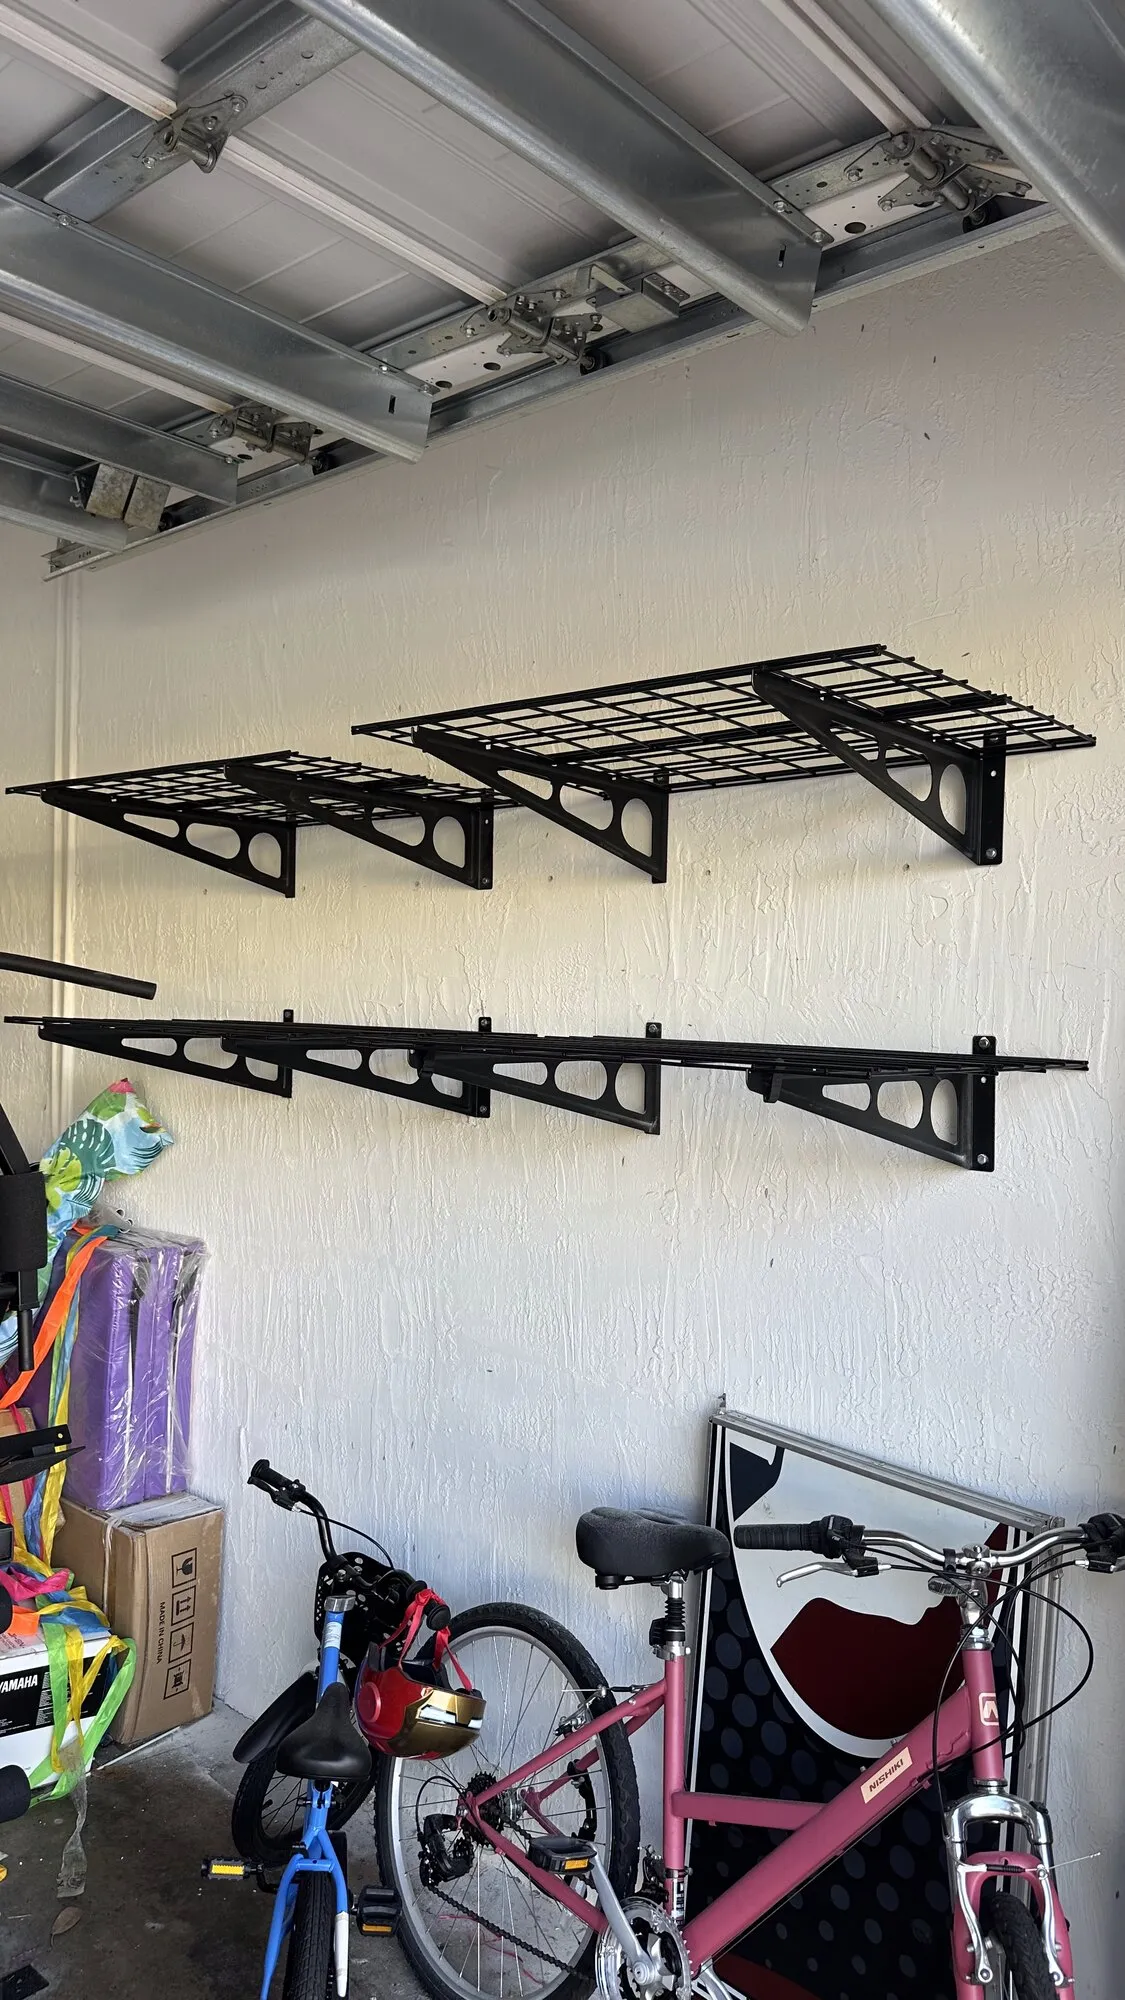
An overhead rack is the best square footage in the house, and it is also the only shelf in your home that hangs directly over a car and, occasionally, over a person. That changes how careful you need to be about the four points holding it up.
The install itself is not complicated. What makes it go wrong is skipping the part where you find out what is actually above the drywall.
Joist direction decides everything
Before you buy a rack, before you pick a spot, find out which way the framing runs. This one fact determines where the rack can go, how many members it will catch, and whether the install is safe at all.
A typical rack has two long mounting rails at the ceiling with four uprights hanging down. You want those rails running perpendicular to the joists, so each rail crosses several framing members and the load is spread across all of them.
Run the rack parallel to the joists instead and every upright on one side sits on a single joist, with the entire load of the rack concentrated on two members. Worse, the odds of both rails landing exactly on a joist line at the spacing the rack requires are poor, so people start improvising — and improvising is where the drywall-only fastener appears.
Find the direction first:
- Look at the attic access hatch if the garage has one, or look up in an unfinished section.
- Follow the ceiling light box or the opener mount — they are usually fixed to framing.
- Use a stud finder across the ceiling and mark several hits. If your marks form a straight line in one direction and repeat every 16 or 24 inches in the other, the repeating direction is across the joists.
- Confirm with a small pilot hole in a spot the rack will cover. A 1/8-inch bit tells you the truth in two seconds and the rack hides the evidence.
- Look at the garage door opener — the rail typically runs from the door back toward the center of the garage, and its rear support usually lands on framing.
Mark every joist center with a pencil line on the ceiling. You want the center, not the edge, and a lag driven into the edge of a joist splits it out the side.
Trusses or joists? They are not the same thing
This matters more than most people realize.
Ceiling joists are dimensional lumber spanning between walls or beams — 2x6, 2x8, 2x10 and so on. In a stick-framed ceiling with an attic above, they are often doing duty as attic floor framing and have some reserve capacity. Lag screws into the face of a joist are exactly what a rack is designed for.
Roof trusses are engineered assemblies of smaller members joined with steel plates, sized by an engineer for a specific set of loads. The bottom chord is usually a 2x4. It is in tension as part of the truss, and it typically has only a modest allowance for anything hanging beneath it — enough for drywall, insulation and light storage, not for a stacked rack of tools.
With trusses, the rules are strict:
- Never cut, notch or drill through a chord or a web member. A truss works as a whole. Removing material anywhere changes the load path.
- Never hang anything from a diagonal web. Loads go into the bottom chord at panel points, not mid-web.
- Spread the load across as many trusses as possible. A rack crossing five trusses is far better than one crossing two.
- Keep it light. If you want to store serious weight overhead in a truss-framed garage, get the capacity confirmed by the truss manufacturer or a structural engineer. That is not overcaution — the truss was designed to a number, and nobody in the garage knows what that number is.
You can usually tell them apart by the member size and the steel plates. Chunky lumber spanning wall to wall with nothing above it but rafters: joists. Skinny 2x4s with toothed metal plates at every joint: trusses.
Concrete ceilings happen too. Plenty of South Florida garages sit under a concrete tie beam or a flat concrete roof deck. That is a different install entirely — you need concrete anchors specifically listed for overhead, sustained tension loads, and correct embedment and edge distance. Overhead anchoring into concrete has its own qualification rules and is not the place to improvise with whatever sleeve anchor is on the shelf. If the ceiling is concrete, get someone who does that work.
And if the garage is under a condo, a townhouse stack or any mid-rise, stop before the drill comes out. Many mid-rise and high-rise buildings here have post-tensioned slabs, with steel tendons under enormous tension running through the concrete. Hitting one is dangerous as it happens and structurally serious afterward, and they are invisible from below with no safe depth to work to. A condo ceiling is not a DIY drilling target without the building’s structural drawings and a scan. See condo drilling rules in South Florida.
The failure mode nobody plans for
Drywall over a parked car is the one I want to be blunt about.
Gypsum board has effectively no pull-out strength. It is a soft core between two paper faces, and a fastener in it is held by friction against crushed material. A toggle bolt in a ceiling is fine for a smoke alarm. It is not a structural connection, and no drywall anchor made will carry a loaded overhead rack.
What happens is not a dramatic collapse on day one. It is slow. One upright is fastened into structure and one is not. The one in drywall creeps under sustained load, the rack tilts a fraction, more load shifts onto that corner, and it accelerates. Then it comes down — often months later, often onto a car roof, and if you are unlucky, while someone is standing under it.
If a mounting point does not land on structure, the rack moves. There is no acceptable workaround. Not a bigger toggle, not a strip of plywood spanning two joists that is itself only screwed to drywall, not construction adhesive.
If the spacing genuinely does not work, add a proper wood cleat — a 2x4 or 2x6 lagged across several joists at their centers — and mount the rack to that. That is a real fix, because the cleat transfers load into framing.
Tools and materials
- Stud finder, and a 1/8-inch bit for confirming hits
- Cordless drill and a corded drill or impact wrench for driving lags
- Correct pilot bits for the lag size you are using
- Socket or wrench to match the lag heads — drive the last turns with a wrench, not an impact
- 4-foot level and a torpedo level
- Tape measure and a chalk line
- Pencil
- Structural lag screws and washers as specified by the rack manufacturer
- Step ladder tall enough that you are not on the top cap
- Safety glasses — ceiling drilling puts everything in your eyes
- A second person. Rails are long, awkward and heavy overhead
Pilot holes for lag screws
A lag screw needs a pilot hole in two parts: a clearance hole through the material being fastened, and a smaller pilot for the threaded portion in the receiving wood. In softwood framing, the thread pilot should be roughly 60 to 75 percent of the shank diameter. Too small and you split the joist or snap the screw. Too large and the threads have nothing to bite.
| Lag screw size | Thread pilot in softwood framing | Clearance hole through the bracket | Notes |
|---|---|---|---|
| 1/4 in | 5/32 in | 1/4 in | Light-duty only, rarely specified for racks |
| 5/16 in | 3/16 in | 5/16 in | Common on smaller residential racks |
| 3/8 in | 1/4 in | 3/8 in | The usual specification for overhead racks |
| 1/2 in | 5/16 in | 1/2 in | Heavy-duty racks and cleats |
Additional rules that matter:
- Drill the pilot to the full depth of the thread, not just the first inch. A lag bottoming out in a shallow pilot will strip its own threads on the way in.
- Account for the drywall. A 3-inch lag passing through 1/2-inch drywall leaves 2.5 inches in wood, and if the bracket steel is another 1/8 inch you are down again. You want at least 2 inches of thread in solid wood, so measure what you are passing through before choosing a length.
- Always use a washer under the lag head. Without one the head pulls through the bracket slot.
- Hit the center of the joist. Mark it and drill it. A lag near the edge splits the member along the grain, and you will not see it happen above the drywall.
- Finish by hand or with a wrench. An impact wrench will happily strip a lag in softwood, and once stripped, that hole is finished. Snug plus a small amount, then stop.
- Do not reuse a hole. If you back a lag out, move over and drill fresh.
What the load rating actually means
A rack marked for a given capacity is telling you what the assembly can carry under the manufacturer’s test conditions. Those conditions assume:
- Every mounting point fastened into solid structure
- The specified fastener size, length and quantity — all of them, not most of them
- Load spread evenly across the deck, not concentrated in one corner
- The rack level and hanging at the designed drop height
- Static load, sitting still
Real ratings for residential overhead racks commonly range from a few hundred pounds up to somewhere in the 600 to 800 pound region depending on size and design, and they vary a lot between manufacturers. Read yours rather than assuming.
Then stay well under it. I plan for about half the rating on anything that lives over a car, for the same reason I do not load an elevator to the exact number on the plate. Fasteners creep, wood moves with humidity, and nobody weighs the bins.
Distributing weight properly
Where the load sits matters as much as how much of it there is.
- Heavy near the uprights, light in the middle. The deck spans between supports and the middle is where it deflects.
- Heavy toward the wall side if the rack is against a wall, since the wall-side uprights usually have the better fastening.
- Even side to side. A rack loaded entirely on the left is putting far more than a quarter of the total on each left-hand fastener.
- No overhang. Bins should not stick out past the frame where they can be knocked off or slide.
- Consistent bins. Same size containers stack, sit flat, and let you see the load. Loose piles shift.
- Nothing loose on top of the load. Anything that can roll off eventually will.
Check it after a month. If a corner has dropped even slightly, take everything off and find out why before you put it back.
Clearance: the part people discover too late
Measure with the garage door fully open, not closed. A sectional door travels back along horizontal tracks and sits under the ceiling exactly where you were planning to put your rack.
Check all of these before you drill:
- The horizontal door tracks and the door panels in the open position, including the top roller bracket
- The opener rail and the trolley running down the middle
- The opener head unit and its hanging brackets
- The torsion spring, shaft and cable drums above the door opening
- The arc of the top panel as it curves from vertical to horizontal — that path is wider than the door itself
- Lights, sprinkler heads and any conduit
- Your vehicle’s height with roof rails or a roof box, and the tailgate or hatch when open
- Headroom for you walking under it with a bin in your hands
Leave real clearance, not a fingernail. A rack that just clears the door is a rack that catches it the first time the door flexes or a roller wears.
Racks are usually adjustable in drop height. Set the drop for the clearance you need first, then check that the rails still land on joists at that position.
What to store up there, and what not to
South Florida garages get hot. Not warm — hot. The temperature under an uninsulated garage ceiling in August is well above what a lot of household items tolerate, and humidity comes along with it.
| Good candidates | Keep it off the rack |
|---|---|
| Holiday decorations in sealed bins | Paint, stains and solvents — heat degrades them and they are a fire load |
| Luggage and travel gear | Aerosols and propane cylinders |
| Camping and beach equipment | Batteries of any kind |
| Off-season clothing in sealed containers | Candles, wax, vinyl records, anything that softens |
| Empty coolers and totes | Photographs, documents, artwork |
| Sports equipment used a few times a year | Electronics and anything with a lithium battery |
| Spare hurricane shutter panels and hardware, if the rack is rated for it | Food and pet food |
| Boxes you genuinely do not need often | Anything heavy enough to injure someone if it fell |
| Anything you need weekly — the ladder tax is real |
One Florida-specific note: hurricane panels are a natural thing to store overhead, and they are heavier than they look. Aluminum panels for a whole house add up quickly. If that is the plan, weigh a panel, multiply, and check it against your rack rating honestly — and remember you will be taking them down in a hurry. The hurricane prep checklist for South Florida homes covers the rest of that routine.
Installation sequence
- Find and mark the joists, confirming direction and at least two center marks with a pilot hole.
- Snap a chalk line along each rail position, square to the joists.
- Check clearance with the garage door fully open and the opener cycled.
- Set the drop height on the uprights before lifting anything.
- Mount the first rail, one lag at a time, checking level as you go.
- Mount the second rail parallel to the first, measuring the spacing at both ends so the rack is not a trapezoid.
- Hang the uprights and the deck, tightening progressively rather than fully at each point.
- Level the deck in both directions and adjust before final tightening.
- Recheck every lag for snugness. Not more turns — just confirm nothing was missed.
- Load it gradually. Put half the intended weight up, leave it a week, and look at it again before adding the rest.
When to stop
Stop if you cannot find framing where the rack needs it. That is the whole safety case for the install.
Stop if the ceiling is concrete and you do not have anchors listed for overhead sustained loads.
Stop if the framing is trusses and the load you have in mind is substantial. Get it confirmed.
Stop if you find water staining, soft wood, previous splitting, or framing somebody has already cut through. Those are structural questions, and structural work needs a licensed contractor in Florida.
And do not do the lift alone. Rails are unwieldy overhead, and a dropped one lands on a car.
When it’s worth calling someone
Getting the joist direction wrong, missing a hit, or hanging a rack that fouls the garage door are all expensive lessons over a parked car, and Handy Daddy installs overhead racks and closet and shelving systems across Broward, Palm Beach and north Miami-Dade. If you are new to finding framing, how to find a stud is worth reading first, floating shelves that hold covers the same structure-versus-anchor logic on walls, and DIY or hire a handyman is an honest look at where this one falls.
Questions people ask about this
Can overhead garage storage racks be mounted into drywall?
No. Drywall has no meaningful pull-out strength and a loaded rack hanging from drywall alone will come down, usually onto whatever is parked underneath. Every upright must be lagged into a ceiling joist, a truss bottom chord, or a solid concrete structure with anchors rated for overhead use. If you cannot hit structure at a given point, move the rack — do not compromise.
Which way should a garage storage rack run relative to the joists?
The rack's mounting rails should run perpendicular to the joists so each rail crosses several of them. If you install a rack parallel to the joists, all four uprights land on at most two members and you concentrate the entire load in two lines of framing. Find the joist direction first, then decide where the rack goes — not the other way round.
What size lag screws do overhead garage racks need?
Most manufacturers specify 3/8-inch or 5/16-inch structural lag screws long enough to pass through the drywall and still leave at least two inches of thread in solid wood. Use the size and length in the instructions, use a washer under the head, and drill the correct pilot hole. Substituting a shorter or thinner screw voids the rating and is the most common installation shortcut I see.
How much weight can an overhead garage rack hold?
Manufacturer ratings for residential overhead racks commonly run from a few hundred pounds up to around 600 to 800 pounds depending on size and design, and every one of those numbers assumes a correct installation into structure with the specified fasteners and an evenly distributed load. The rating is not a target. Treat it as an upper bound you stay well under.
Is it safe to hang storage from roof trusses?
Only lightly, spread across several trusses, and never by modifying them. Roof trusses are engineered assemblies where every member is sized for a specific load path, and the bottom chord usually has only a modest allowance for anything hanging from it. Never cut, notch or drill through a chord or a web, and if you want real weight up there, have a structural engineer or the truss manufacturer confirm the capacity.
What should I not store on an overhead garage rack?
Anything heat-sensitive, anything hazardous, and anything you need often. A South Florida garage gets brutally hot, so paint, aerosols, batteries, candles, electronics, photographs and documents all suffer. Anything heavy enough to injure someone if it falls belongs at floor level, and anything you reach for weekly belongs where you do not need a ladder.