TV & Mounting
Mounting a TV on a concrete block wall in Florida
Mounting a TV on a concrete block wall: why stud finders lie in CMU homes, hammer drill vs rotary hammer, sleeve anchors vs Tapcons, embedment depth and dust control.
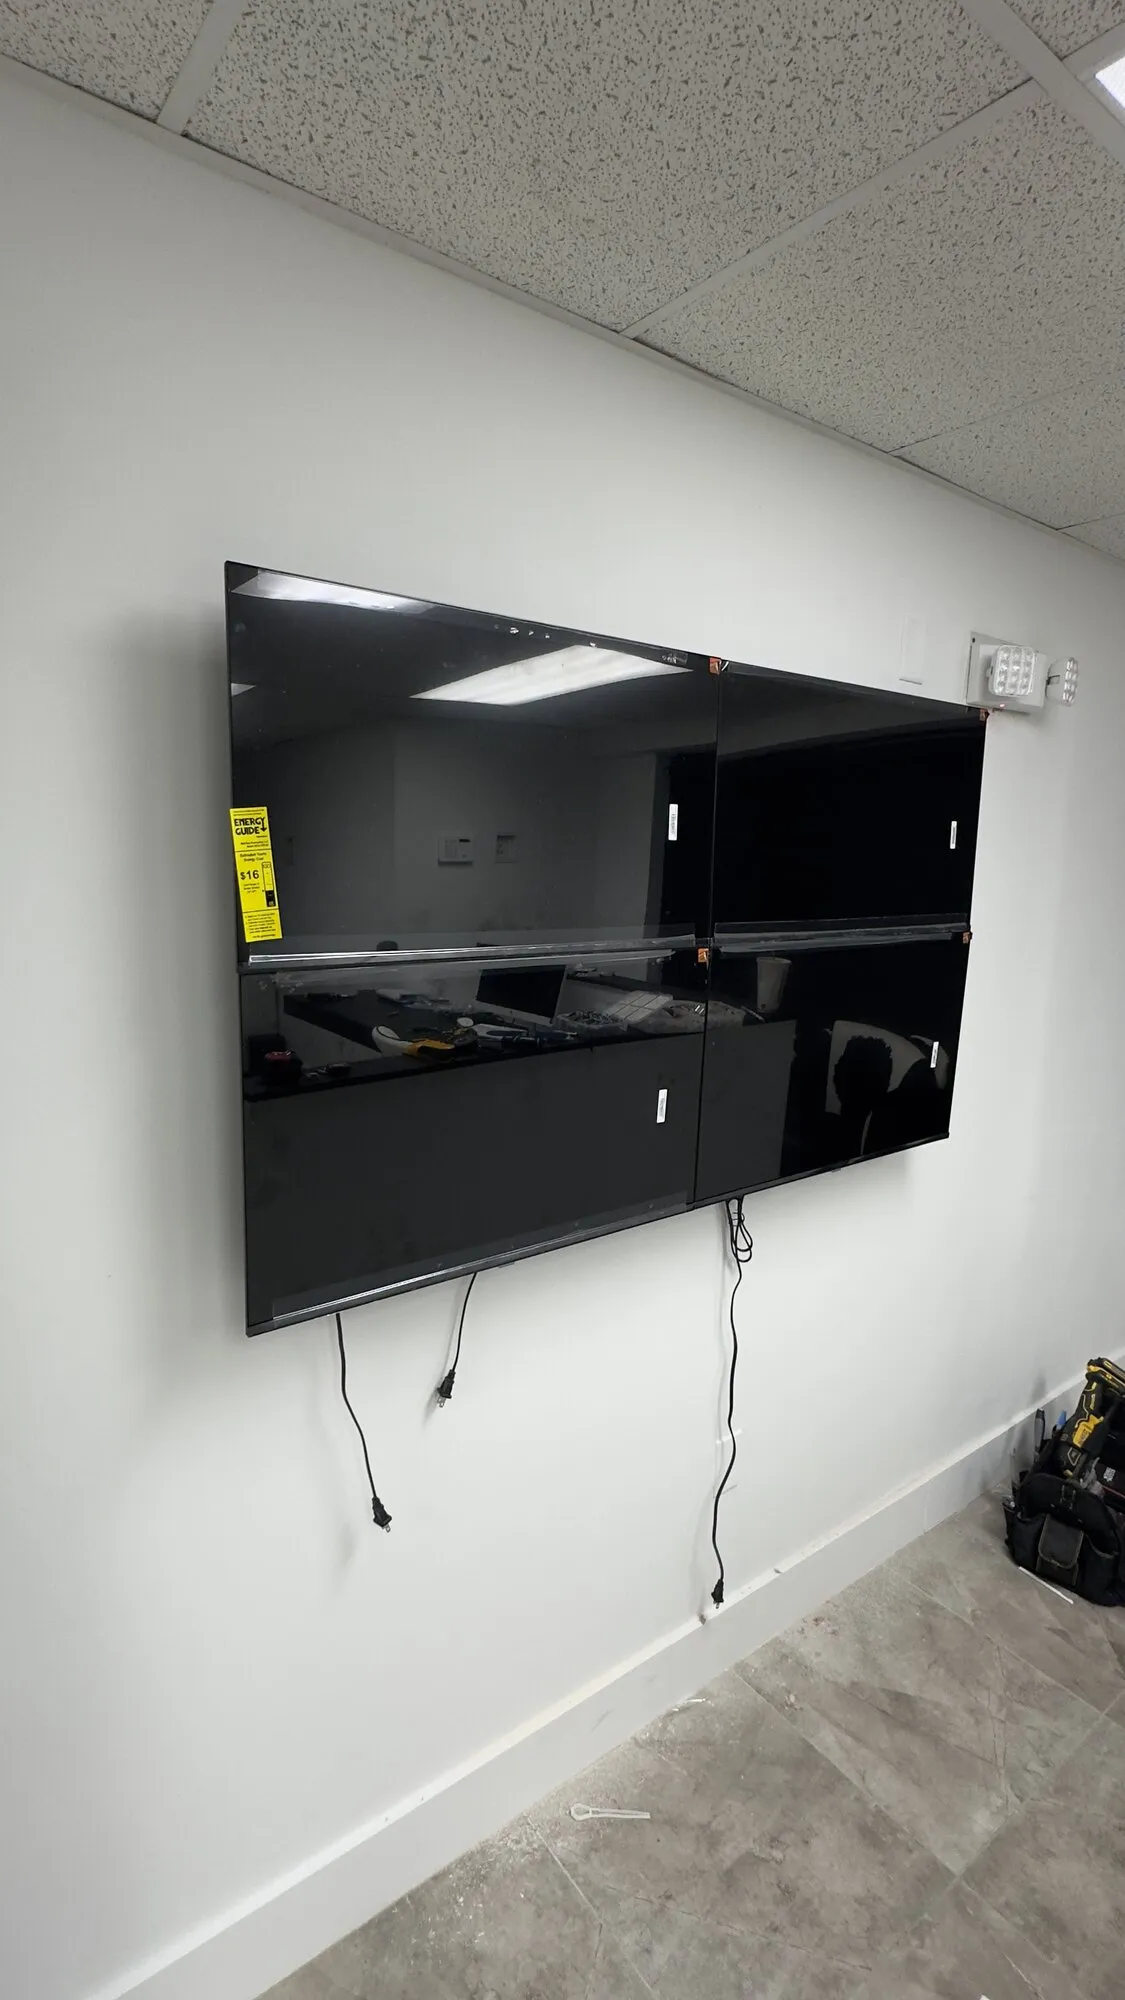
If you live in Broward or Palm Beach County, there is a good chance the exterior walls of your house are concrete block with a thin wooden skeleton stuck to the front of them. That skeleton is what your stud finder is beeping at, and it is not what should be holding a 70 pound television.
Block is genuinely the best wall you can mount a TV to. Done right, a pair of masonry sleeve anchors in a block face will hold more than the wall studs in a wood-framed house ever would. Done wrong, you have four holes in a wall that cost more to patch than the mount did.
Why South Florida walls are like this
The standard construction here is concrete masonry unit — CMU, or just “block.” Nominal 8x8x16 units, actually 7-5/8 by 7-5/8 by 15-5/8 inches, laid up in courses with mortar joints. Cells at the corners, either side of openings, and wherever the engineer called for them get filled with grout and rebar. The rest stay hollow. A poured concrete bond beam usually runs around the top of the wall.
You do not see any of that, because on the inside face the builder attaches furring strips — commonly 1x2 or 1x3 wood, sometimes metal hat channel — vertically at 16 or 24 inches on center, and screws 1/2 inch drywall to them. The furring exists to create a flat plane, a small air gap and a place to run wiring. It is not structure. It is generally attached with cut nails or short masonry fasteners into the block, and pulling on it hard enough will bring the strip and a chunk of drywall off the wall together.
That gap is the trap. Your electronic stud finder reads a density change every 16 inches, exactly like framing, and gives you a confident green line.
How to tell block from framing in ten seconds
- Knock. A framed wall sounds hollow between studs and dull on them. A block wall sounds dead everywhere, and your knuckles hurt.
- Push. Press firmly with your palm between the “studs.” Drywall on framing flexes noticeably. Drywall on furring over block barely moves at all.
- Magnet. On a wood-framed wall, a rare-earth magnet finds a vertical line of drywall screws every 12 to 16 inches. On furring you will find the same thing — this test tells you where fasteners are, not what they are in.
- Test hole. The one that settles it. Drill a 1/16 inch hole at your marked line with a plain twist bit. Wood shavings and continuous resistance for two inches means a stud. Wood shavings for 3/4 of an inch and then a hard stop means furring on block, and you just found your wall.
- Look at the exterior. Where does the outside wall thickness fall relative to a window jamb? Block exteriors are noticeably thicker than framed ones.
If you want the full set of detection methods, how to find a stud goes through them properly. But in a block home, the honest answer is that finding a “stud” is the wrong goal. You are mounting to the block.
Hammer drill vs rotary hammer
They are not the same tool and the difference matters.
A hammer drill spins the bit while two ridged clutch plates ratchet against each other, giving a very fast, very light tapping motion — high blows per minute, low energy per blow. It works by abrading. For half a dozen 3/8 inch holes through a 1-1/4 inch block face shell, a decent corded hammer drill is fine. A cordless one will do it, slower, and will eat a battery.
A rotary hammer (SDS-plus) drives the bit with a piston and an air cushion. Far fewer blows per minute but vastly more energy in each one, and it chisels rather than abrades. This is the tool for poured concrete, a filled grouted cell, a bond beam, or a lintel. It also makes block drilling almost effortless, which matters when you are trying to hold a level at the same time.
What will not work is a standard drill/driver with no hammer function. You will glaze the carbide, cook the bit, and make a shallow shiny dimple.
Use carbide-tipped masonry bits, matched to the anchor. SDS-plus bits will not chuck into a normal drill and normal round-shank bits should not go into an SDS tool.
Anchor selection
| Anchor | Best for | Hole size | Embedment | Notes |
|---|---|---|---|---|
| Sleeve anchor, 3/8 in | TV mounts in hollow block | 3/8 in | Through the 1-1/4 in face shell, sleeve expanding behind it | Spreads load across the shell. The default choice. |
| Sleeve anchor, 1/2 in | Very large screens, pull-down mounts | 1/2 in | Per manufacturer, typically 2 in+ | Check that a 1/2 in body fits the mount’s slots. |
| Concrete screw (Tapcon type), 1/4 in | Raceways, soundbar brackets, light loads | 3/16 in carbide | 1 in minimum, 1-3/4 in maximum | Has a maximum embedment as well as a minimum. Removable and re-drivable, but do not reuse the same hole. |
| Concrete screw, 3/16 in | Cable clips, cord covers | 5/32 in carbide | 1 in minimum | Small and quick. |
| Wedge anchor | Solid poured concrete, lintels, bond beams | Matches anchor diameter | Per manufacturer | Needs solid material all around. Not for hollow block. |
| Screen tube plus adhesive | A blown-out hole, or a suspect face shell | Per the screen tube | Full shell thickness | The repair option when a hole crumbles. |
Two clarifications that save people money.
Wedge anchors are not a stronger sleeve anchor. They are a different tool for a different substrate. A wedge anchor sets by pulling a clip up a tapered cone against solid concrete. In a hollow block, once the clip passes the inside face of the shell there is nothing for it to bite, and the anchor spins forever.
Drill the hole deeper than the anchor needs. Cuttings pack into the bottom of a masonry hole, and an anchor that bottoms out on dust never sets properly. Go about half an inch past, then vacuum and blow the hole clean before you set anything.
Do not chase an embedment number in a block wall. In poured concrete you drill to a stated depth and the anchor grips the material around it. A hollow block face shell is only 1-1/4 inches thick, so there is no depth figure to reach: a 3/8 sleeve anchor works here by passing through the shell and expanding behind it, clamping the shell between the sleeve and the washer. Drill just deep enough to seat the anchor body and let the sleeve open in the void. Breaking through is the point. Anyone telling you to get an inch and a half of embedment into a shell that is an inch and a quarter thick is telling you to drill into nothing.
And buy longer anchors than you think. This is the detail that catches people out on furred block walls. The anchor has to cross about 1/2 inch of drywall and about 3/4 inch of furring cavity before it even reaches the block, then pass through the 1-1/4 inch face shell so the sleeve has room to expand behind it. That is roughly 2-1/2 to 3 inches of anchor before you count the plate thickness, the washer and the nut. A 3 inch sleeve anchor that would be generous in bare block is marginal here, so measure your actual wall build-up with a stiff wire in a test hole and size from that.
There is a second consequence of that cavity: as you tighten, the wall plate is bearing on unsupported drywall with a void behind it, and it will dish the gypsum in. Either place your anchors where they pass through a furring strip so there is solid backing, or slip a stack of washers or a short spacer sleeve over each anchor so the plate bears on steel rather than crushing paper and gypsum. A mount that keeps compressing the drywall is a mount that keeps working loose.
Where to drill
- The block face, not the mortar joint. The face shell is uniform, solid and predictable across the whole face of the unit. Mortar quality varies with whoever mixed it in 1974.
- Keep away from edges. Stay at least an inch and a half from a mortar joint or the edge of a block, more if your anchor’s instructions say so. Masonry fails by cracking outward toward the nearest free edge.
- Spread your holes across two blocks where you can. A wall plate that spans a course line puts its top pair in one block and its bottom pair in another. That is a good thing, not a problem.
- Stay well clear of outlets and switches. In block construction the wiring often runs vertically inside the cells in conduit, or horizontally in the furring cavity, and it does not always follow the logic you would expect. Keep 6 inches or more to the side of any box, and use a wall scanner that flags live conductors if you have one.
- If you hit rebar, you will know instantly — the bit stops advancing and the tool feels different. Stop. Do not try to cut through it with a masonry bit. Move over two or three inches and start a new hole. Rebar means you are in a filled cell, which is excellent material, just not at that exact spot.
Step by step
- Confirm the wall is block with the knock, push and test-hole checks above. Do not skip this because the house “looks like block.”
- Set your height and mark the plate. Use painter’s tape on the wall and mark on the tape — pencil on block-backed drywall smears and is hard to erase cleanly.
- Level the wall plate and mark the top two holes. Mark through the plate’s holes so the geometry is the plate’s, not your tape measure’s.
- Drill the top holes with the hammer function on, keeping the drill square to the wall. Let the tool’s weight do the pushing. Expect the bit to break through into the hollow cell at around 2-1/2 inches of total depth: roughly 1/2 inch of drywall, 3/4 inch of furring cavity, then the 1-1/4 inch face shell. Breaking into the void is a good hole, not a failed one.
- Vacuum the hole out, then blow it clear, then vacuum again. Dust in the hole is the most common cause of an anchor that never grips.
- Set the sleeve anchors. Tap them through until the washer sits against the plate, then tighten the nut. The sleeve expands as the cone is drawn up into it. Tighten firmly and stop — over-tightening a sleeve anchor in a face shell can crack the shell behind the drywall where you will never see it.
- Hang the plate, re-level, mark and drill the bottom holes, then set those anchors.
- Pull-test the plate hard before the TV goes anywhere near it. Grab it, put a foot on the wall if you like. It should not move, click or dust.
- Bracket the TV, hang it, engage the safety catches, and level with the mount’s fine adjustment.
Dust control, and why it is not optional
Drilling block, brick, concrete or mortar produces respirable crystalline silica. This is the dust that causes silicosis — permanent, progressive, untreatable scarring of the lungs. It is not a “dusty job” hazard, it is a real occupational disease, and OSHA regulates it in construction under 29 CFR 1926.1153 with a specific control listed for handheld drilling: a dust collection shroud running to a vacuum with a HEPA filter.
You are not a construction crew drilling all day, and the risk from six holes is small. Take the cheap precautions anyway:
- N95 respirator, fitted properly, not a paper dust mask hanging off one ear
- Shop vacuum nozzle held at the hole by a helper, or taped to the drill
- Eye protection — masonry chips come back at you
- Ventilate, and wipe surfaces down with a damp cloth afterward rather than sweeping dry
- Cheapest trick in the book: fold a sticky note into a pocket and tape it to the wall under the hole to catch the fall
Salt air, humidity and hurricane season
Two Florida-specific notes that are easy to shrug off and shouldn’t be.
Anchor material. Within a mile or so of the ocean, plain zinc-plated anchors corrode. Buy stainless or hot-dip galvanized sleeve anchors for coastal condos and anything on a balcony or lanai wall. Rust stains bleeding down white paint under a TV is a permanent tell.
Exterior walls carry the load. A block exterior wall is part of the building’s structure. Drilling a few 3/8 inch holes through a face shell does not weaken it in any meaningful way, but coring large holes, chasing channels, or cutting through the shell into a filled cell can. Keep your holes small, keep them shallow, and if the mount calls for something bigger than a 1/2 inch anchor, that is a conversation with an engineer, not a Saturday project. Condo buildings frequently have written rules about this — see condo drilling rules in South Florida.
When to stop
- The face shell crumbles or the hole blows out into a crater. Move over and use a screen tube with adhesive, or relocate the mount.
- You hit rebar in two or three adjacent attempts — you are in a filled cell area that may be a structural column.
- You find conduit or a cable. Stop drilling entirely and reassess where the runs are.
- The wall is old, patched or spalling around your marks.
- You cannot get a hammer drill and you were about to try with a regular drill.
When it’s worth calling someone
Block walls are the reason most people give up on doing this themselves, and it is a fair place to give up — the tooling costs more than the job and the mistakes are expensive to fix. If you want it handled, TV mounting on block walls is most of what I do around Fort Lauderdale and the rest of Broward, Palm Beach and north Miami-Dade. If you are pressing on yourself, the general end-to-end walkthrough is in how to mount a TV on the wall, and cable routing on a solid wall is covered in how to hide TV wires.
Questions people ask about this
Why does my stud finder beep on a concrete block wall?
Because it is finding the furring strips, not structure. Most Florida block homes have 1x2 or 1x3 wood furring attached to the block face with drywall over it, spaced like studs at 16 or 24 inches. A density-based stud finder reads those strips as framing, but they are tacked on with light fasteners and will not hold a TV.
Do I need a hammer drill or a rotary hammer for a block wall?
A hammer drill is enough for a handful of 3/8 inch holes in a hollow block face shell. An SDS-plus rotary hammer delivers far more energy per blow and is the right tool if the wall is poured concrete, a filled cell, a bond beam, or if you are drilling regularly. A plain drill without a hammer function will not do it.
Should I use sleeve anchors, wedge anchors or Tapcons in concrete block?
Sleeve anchors for a TV in hollow block. They expand along a longer sleeve and grip the face shell reliably. Wedge anchors are designed for solid poured concrete and are a poor choice in hollow block because they need solid material all around to expand into. Concrete screws like Tapcons are fine for lighter loads and raceways.
Can I drill into the mortar joint instead of the block?
Drill the block face for a TV mount. The face shell of a standard 8 inch CMU is at least 1-1/4 inches of consistent solid material. Mortar joints vary in quality from wall to wall, are softer, and blow out easily under a hammer drill. Joints are fine for a light picture hook, not for a mount carrying a screen.
What happens if I hit a hollow cell in the block?
You will, on almost every hole, and that is normal. A standard two-core block is only about half solid by cross section, so there is a lot of void behind that face shell. The fix is not to keep drilling deeper. Use an anchor that develops its hold in and behind the 1-1/4 inch face shell, or a screen tube and adhesive anchor if the shell is damaged.
Is drilling concrete block dangerous?
The dust is the real risk. Concrete and masonry release respirable crystalline silica when drilled, which causes permanent lung damage with repeated exposure. Use an N95 or better, hold a shop vacuum nozzle at the hole, and ventilate the room. The drilling itself is safe if you check for conduit and rebar first.