TV & Mounting
How to mount a TV on the wall: the complete guide
How to mount a TV on the wall properly: picking the mount, finding real structure, wood stud, metal stud and concrete block hardware, height, leveling and cables.
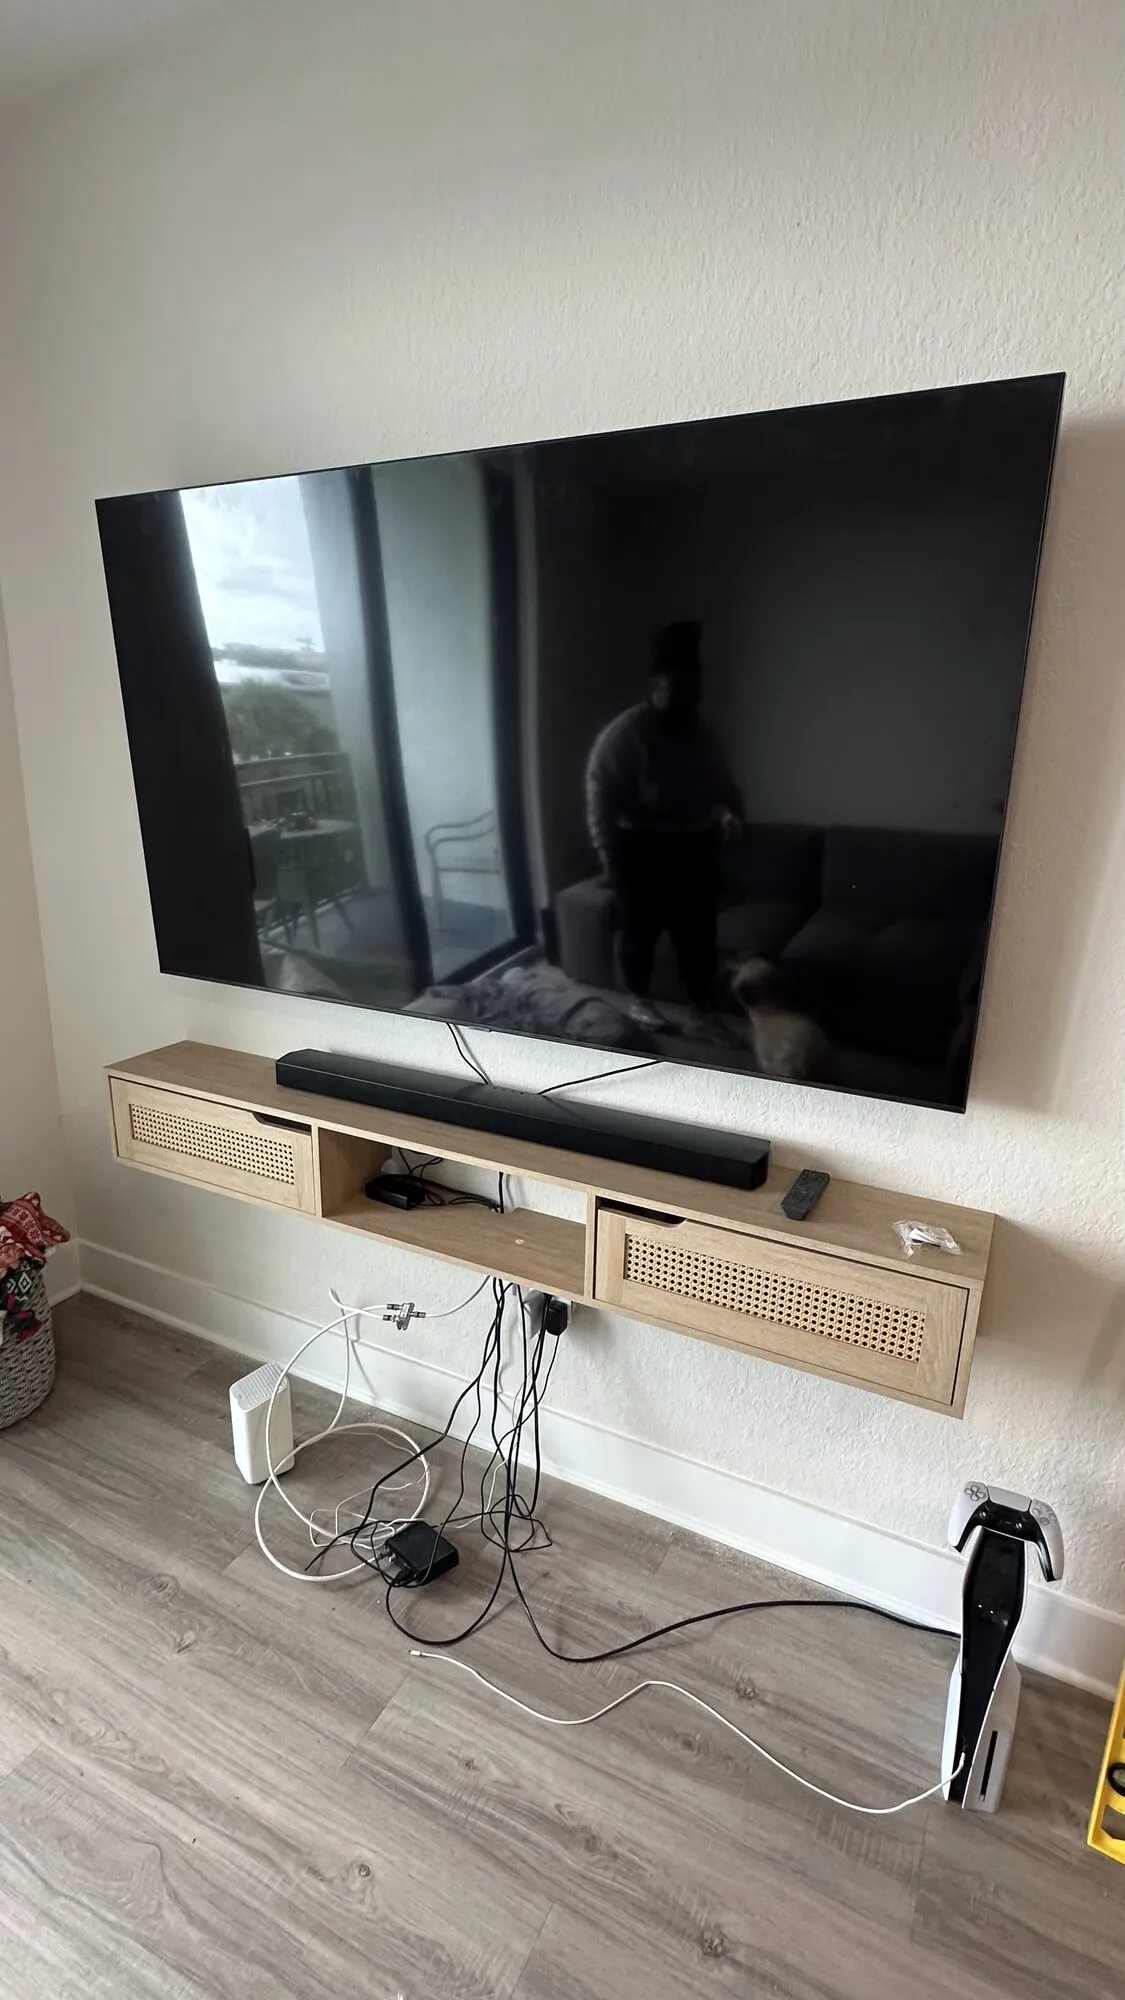
Most TV mounting failures are not dramatic. The screen does not come off the wall on day one. It sits there for eight months, tipping a degree further forward every week as the drywall anchors chew their way through half an inch of gypsum, and then it lets go at 9pm on a Saturday. The mount was fine. The wall connection was a guess.
This is the whole job, start to finish: picking the right mount, finding real structure behind the finish, the four wall types you actually meet in South Florida, the hardware for each, getting the height and level right, and hiding the cables. Do it in this order and the screen stays where you put it.
Tools and materials
You do not need a van full of gear, but you do need the right few things.
Tools
- Cordless drill/driver, plus a hammer drill or SDS-plus rotary hammer if you have block walls
- Drill bits: twist bits for pilot holes (3/16 in is the common one), carbide masonry bits sized to your anchors
- Socket wrench or ratchet with a 1/2 in socket for lag bolts; a nut driver set
- Stud finder — a good one, and ideally a small rare-earth magnet as a second opinion
- 24 in or 48 in spirit level, or a self-leveling cross-line laser
- Tape measure, pencil, painter’s tape
- Torpedo level for the bracket itself
- Shop vacuum with a fine-dust filter, plus an N95 if you are drilling masonry
- Non-contact voltage tester and, if you can borrow one, a cheap wall scanner that flags live wire and metal
Materials
- The mount, with its own hardware kit (lag bolts, VESA screws, spacers, washers)
- Anchors appropriate to your wall type — see the table further down
- Cable ties or hook-and-loop wrap
- Recessed power kit or paintable raceway if you are hiding cables
- Drywall patch compound for the inevitable practice hole
Step 1: Pick the mount before you pick the spot
Three decisions, in this order.
Type. A fixed mount sits the screen about 1/2 to 1-1/2 inches off the wall and does nothing else. A tilting mount adds roughly 5 to 15 degrees of downward tilt and sits 1-1/2 to 3 inches out. A full-motion mount swings out 15 to 30 inches and rotates. Full range of motion is genuinely useful in a room with a bad window or an open kitchen sightline, and completely wasted on a bedroom wall you watch from one position. It also triples the leverage on the wall connection, which matters a lot on the marginal walls. There is a full breakdown in TV mount types explained.
VESA pattern. VESA is just the rectangle of four threaded holes on the back of the TV, measured in millimeters, horizontal by vertical. Common patterns run 100x100, 200x200, 300x200, 400x200, 400x400, 600x400 and 800x400. Measure hole centers with a tape before you buy, because the number printed on the box is the maximum the mount supports and some brackets do not cover the small patterns without an adapter. Screw thread is usually M4 or M5 on small screens and M6 or M8 on 55 inches and up.
Weight. Check the TV’s weight without the stand — it is in the manual and on the manufacturer’s spec page. Modern 65 inch sets are often 45 to 60 pounds and 85 inch sets 80 to 120 pounds, but the spread between models is large enough that you should look yours up rather than assume.
Step 2: Decide the height before you touch the wall
Get this wrong and you will live with it. The working rule is that the center of the screen wants to land near seated eye level, which for a normal sofa is somewhere around 42 inches off the floor. That puts the bottom of a 65 inch screen at roughly 26 inches and a 75 inch screen at roughly 24 inches.
Tape a cardboard rectangle the size of your screen to the wall and sit down in the chair you actually use. Look at it for a minute. The full explanation, with a table of screen sizes and heights, is in how high to mount a TV. If the answer is “above the fireplace,” read mounting a TV above a fireplace first, because that job has rules of its own.
Step 3: Find out what is actually behind your wall
This is the step people skip and it is the one that decides whether the job works.
South Florida gives you four possibilities, and it is common to have more than one in a single house. Interior partitions might be wood or light-gauge metal studs while every exterior wall is solid concrete block.
Wood stud
Sound: a solid, dull thud on a 16 inch rhythm. An electronic stud finder marks consistent edges roughly 16 inches apart (sometimes 24 in newer or garage framing). A rare-earth magnet sticks in a vertical line where the drywall screws are. Drill a 1/16 in test hole at the marked center and you should feel continuous wood resistance and pull out clean wood shavings.
Metal stud
Sound: a light, tinny rattle. A magnet sticks hard, and it sticks in a straight vertical line every few inches where the drywall screws bite into the flange. Interior partition studs in a lot of Florida construction are light-gauge steel — thin enough that a lag bolt will strip out of them like it is going through a soda can. Do not lag into steel.
Concrete block (CMU)
Sound: dead. No hollow anywhere, and the wall barely moves when you push. This is the most common exterior-wall construction in Broward, Palm Beach and north Miami-Dade, usually with 1x2 or 1x3 wood furring strips and 1/2 inch drywall over the block. Your stud finder will happily beep on the furring strips, which are attached to the block with small fasteners and are not structure. It is easy to mistake furring for framing and mount a 70 pound TV to a piece of pine tacked to a wall. That whole subject has its own guide: mounting a TV on a concrete block wall.
Drywall only
Sound: hollow everywhere, no framing within your mounting footprint. This happens with wide-spaced framing, over a chase, or over an old opening. It is the one case where the honest answer is “not here.”
If you want the detection methods in depth, how to find a stud covers the magnet trick, the outlet-box trick and the test-hole method properly.
Step 4: Match the hardware to the wall
| Wall type | Fastener | Typical size | Hole to drill | Embedment |
|---|---|---|---|---|
| Wood stud | Lag bolt with washer | 5/16 in x 3 in (kit standard) | 3/16 in pilot in softwood | 2-1/2 in of thread into the wood after 1/2 in drywall |
| Metal stud | Strap/snap toggle through the flange | 1/4-20 | Per the toggle instructions, usually 1/2 in | Toggle seats fully behind the flange |
| Concrete block | Masonry sleeve anchor | 3/8 in | 3/8 in carbide bit, drilled deeper than the anchor | Through the 1-1/4 in face shell, sleeve expanding behind it |
| Concrete block (light loads) | Concrete screw (Tapcon style) | 1/4 in x 2-3/4 in | 3/16 in carbide bit | 1 in minimum, 1-3/4 in maximum |
| Solid poured concrete | Wedge anchor or sleeve anchor | 3/8 in | 3/8 in carbide bit | Per the anchor’s printed embedment |
| Drywall only | None that is honest for a TV | — | — | Add a plywood backer or move the TV |
Three things worth spelling out. Wedge anchors need solid material all the way around them to expand into, so they belong in poured concrete and lintels, not in the hollow cells of a block wall. Concrete screws have a maximum embedment as well as a minimum, so drive a 1/4 inch Tapcon deeper than about 1-3/4 inches and the threads start cutting away the material they are relying on.
And there is no embedment depth to hit in a block face shell. The shell on a standard 8 inch unit is only 1-1/4 inches thick, so a sleeve anchor there does not grip by depth at all: it passes through the shell, the sleeve expands in the hollow cell behind, and the shell gets clamped between that sleeve and the washer. Drill deep enough to seat the anchor and stop. Breaking into the void is a good hole. Mounting a TV on a concrete block wall goes through it properly.
Near the coast, buy stainless or hot-dip galvanized anchors. Salt air in a beachfront condo will find plain zinc plating, and corroded anchor rust bleeding through the paint under a TV looks exactly as bad as it sounds.
Step 5: Mark and drill
- Hold the wall plate at your marked height and set your level on it. Mark the top two holes with a pencil through the plate. Working from the top pair keeps the plate hanging in position while you check yourself.
- Check the level again after marking. A plate that shifts a sixteenth of an inch while you press on it turns into a visibly crooked TV.
- Drill your top holes first. In wood, a 3/16 in pilot for a 5/16 in lag. In softwood that is about right; if you are drilling into old dense heart pine, step up one size so the lag does not snap. In block, use the hammer function and let the tool do the work — leaning on a hammer drill just polishes the carbide.
- Blow and vacuum the holes out before setting masonry anchors. Dust in the hole is the single most common reason a sleeve anchor never reaches full grip.
- Set the top two fasteners loosely, hang the plate, then re-level and mark the bottom holes through the plate. This way both pairs are guaranteed to line up with the plate’s actual geometry rather than your measuring.
- Drill and set the bottom fasteners, then tighten everything.
On tightening: snug the lag bolts until the plate is firmly against the wall and does not rotate under hand pressure, then give a small extra turn. Do not lean on the wrench. Over-torquing a lag in a wood stud strips the threads out of the wood, and over-torquing a sleeve anchor in block can crack the face shell — the failure is invisible until it isn’t.
Step 6: Bracket the TV and hang it
- Lay the TV face down on a blanket on a table or the carpet, never on a hard floor.
- Test-fit the VESA screws by hand first. They must not bottom out hard, and they must not be so long that they touch anything inside the case. TV backs are curved and plastic, so use the spacers in the kit to keep the arms from twisting the panel. If a screw stops turning early, stop with it.
- Get help for anything over about 45 pounds. A 75 inch panel is not heavy so much as it is unmanageable, and it flexes.
- Hook or slide the TV onto the wall plate, then engage the safety catch or lock screws. Every decent mount has one. Find it in the instructions and actually use it.
- Test it. Put both hands on the frame and pull down and out with about as much force as a toddler grabbing the bottom corner. Nothing should creak, shift or telegraph movement into the drywall.
Step 7: Level, cable and tidy
Fine-level the screen using the mount’s adjustment — nearly all of them have a small amount of roll adjustment at the arms or the plate, which is what saves you when the wall itself is out of plumb. Set a level on the top edge of the TV, not on the bracket.
Then deal with the wires, because a level TV over a bundle of dangling black cable looks worse than a crooked TV over nothing. Your options are a recessed power kit with in-wall rated signal cable, a paintable surface raceway, or a simple cord cover. What you must not do is push the TV’s factory power cord through a hole in the wall — that cord is not rated or listed for in-wall use, and the National Electrical Code does not permit flexible cord as a substitute for fixed wiring. How to hide TV wires covers the legal ways to get the same clean result.
Safety and when to stop
- Live wires. Electrical in a Florida block home often runs vertically inside the block cells or horizontally in the furring cavity in places you would not expect. Before drilling anywhere near an outlet or switch, look at where the box is and stay at least 6 inches to the side of it, and use a voltage-detecting wall scanner if you have one. A carbide bit through a live conductor is a bad afternoon.
- Silica dust. Drilling concrete block releases respirable crystalline silica, which is a genuine lung hazard, not a nuisance. Wear an N95 or better, run a vacuum at the hole, and open a window. It is a two-dollar problem to solve and a permanent one to ignore.
- Weight overhead. Do not mount a heavy screen on a wall you are unsure about because you have already bought the mount. Sunk cost is not a structural property.
- Rental and condo rules. A lot of South Florida buildings have written restrictions on drilling, particularly into exterior and demising walls. Check before, not after: condo drilling rules in South Florida.
- Stop entirely if you cannot find structure within your mounting footprint, if you hit rebar or conduit, if the wall flexes when you press on it, or if the only thing holding your marks is a furring strip.
Common mistakes I get called out to fix
- Mounting to furring strips in a block home and calling them studs.
- Lag bolts into a metal stud, which grip for about a month.
- Plastic drywall anchors on a full-motion mount. The mount is a lever; the anchors lose.
- No safety screws, so the TV lifts off its hooks the first time someone unplugs an HDMI cable behind it.
- The screen centered on the wall instead of centered on the seating. The wall is not watching TV.
- Cable run so tight that the full-motion arm rips the HDMI out at full extension. Leave a service loop.
When it’s worth calling someone
If your walls are concrete block, if the TV is 75 inches or bigger, if you want the cables genuinely invisible, or if you just do not want to own the outcome of a 90 pound screen on a wall you are guessing about — that is a reasonable time to hand it over. I do TV mounting across Broward, Palm Beach and north Miami-Dade, block walls included, and the mount gets pull-tested before I leave.
Questions people ask about this
Can I mount a TV without drilling into studs?
For anything bigger than a small bedroom screen, no. A TV mount concentrates the whole weight of the screen into four bolts, and drywall alone has almost no pull-out strength in shear or tension at that scale. Either hit framing, hit concrete block with masonry anchors, or add a plywood backer behind the drywall.
How much weight can a TV wall mount hold?
The mount itself is almost never the weak link — most VESA 400 and 600 brackets are rated well above the 50 to 90 pounds a modern 65 to 85 inch TV weighs. What fails is the connection to the wall. A pair of 5/16 inch lag bolts driven 2.5 inches into solid wood framing will hold far more than the screen weighs; the same bolts in drywall will hold nothing.
Do I need a hammer drill to mount a TV in Florida?
Usually yes. Most South Florida homes and condos are concrete block behind the drywall, and a standard drill will not make a clean hole in a block face shell. A corded hammer drill or an SDS-plus rotary hammer with a carbide masonry bit is the right tool.
How long does it take to mount a TV?
A straightforward fixed mount into wood studs takes about an hour. Add an hour for a full-motion mount, an hour for concrete block, and an hour or two if you are also hiding the cables inside the wall. First-timers should budget half a day and not rush the layout.
Should the TV mount go into the mortar joint or the block face?
The block face. The face shell of a standard 8 inch CMU is at least 1-1/4 inches of solid material and takes an anchor consistently. Mortar joints are softer, vary in quality from wall to wall, and are easy to blow out with a hammer drill.
Will mounting a TV damage my wall?
It leaves four to six holes roughly 5/16 inch across, plus whatever you cut for cable pass-throughs. All of it patches and paints in under an hour. If you rent or live in a condo, check your lease or association rules before drilling — some South Florida buildings restrict work on demising and exterior walls.